Falling to Haven: A look back at Worden
Hello friends, it’s been a while.
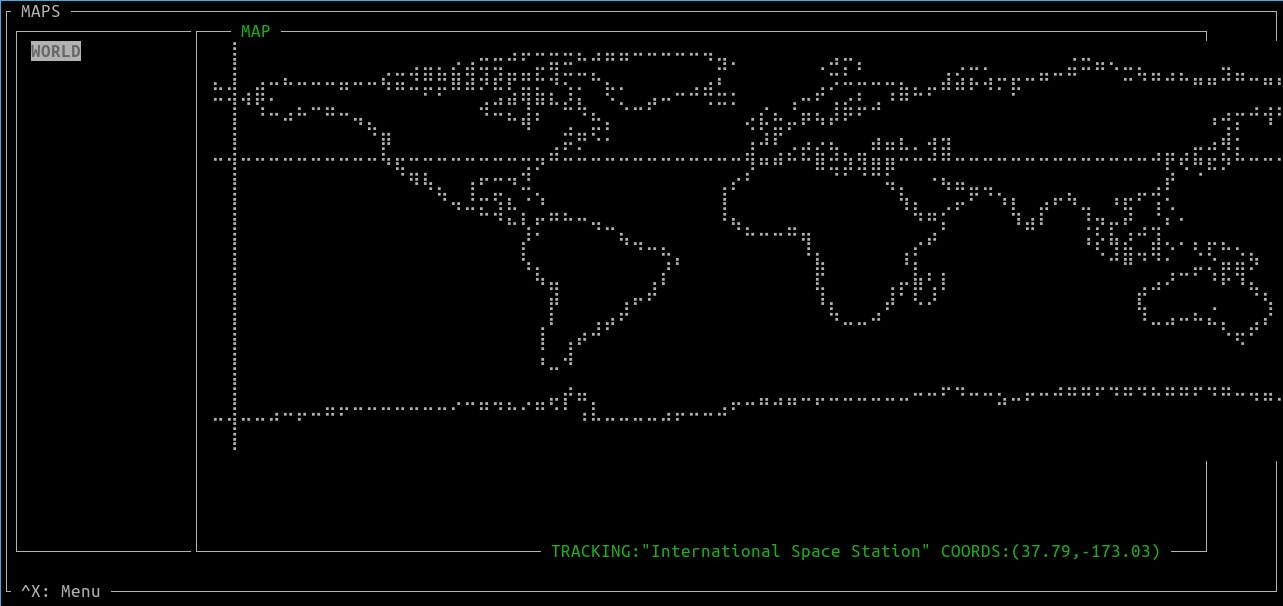
Recently I’ve revisited a side-project that was (more or less) completed late last year, Worden a 100% python, TUI-based application that tracks information about upcoming launches, events, astronauts, celestial bodies and the ISS and, when possible, tracks them in a World map.
Now that the PyPi packaging is finally fixed, I felt that it would be as good a time as ever to look back and discuss some of the aspects of the project’s development.
Motivation
I had bought a small screen LCD screen for my Raspberry PI and, like it often happens with Raspberry Pis, I had no idea what to do with the blasted thing. After some thinking came the idea of having a mini “mission control” on the screen running on it, and do it straight from the terminal for the hell of it. Sure, why not?
 What could go wrong trying to fit that into a 3.5 inch screen?
Thus began the work on Worden, named after the late Alfred Worden, pilot of the Apollo 15, and who I had the great honor to see in person (and even take a picutre with him!) during a visit to the Kennedy Space Center.
Finding Data Sources
Without a good and public source for the data I wanted to display, the scope and general idea of the project would have to be redone. After some digging through API indexers and search engines, I came across three RESTful APIs that provided data for most of the functionalities I wanted to implement.
- Information on upcoming launches, events and astronauts: https://spacelaunchnow.me/api/3.3.0/
- Current location in Latitude and Longitude of the ISS: https://open-notify.org/
- Information on celestial bodies of our solar system: https://api.le-systeme-solaire.net/swagger/#/bodies/get_bodies
Props in particular to Space Launch Now , it’s not only an API, but a full-blown site/app that is very information rich. Take a look and go give CalebJones some much deserved stars.
Building the UI
Having found the data sources, and decided that the project would be in python (due to familiarity and speed of development), I began looking for python projects with curses-like terminal user interfaces and to see which libraries they used, and found two very interesting projects: TelegramTUi and ptop .
Both projects used npyscreen, a library built on top of ncurses which gives several of ready-to-use widgets and tools, very much speeds-up development and remove the need to mess arround in the innards of ncurses.
There are other, perhaps more up-to-date, alternatives but not wanting to blaze a new trail in terms of UI, npyscreen was the one chosen.
This was not without drawbacks however, as npyscreen’s online documentation was somewhat incomplete and a bit messy when it came to certain functions, and features.
The main example of this was creating the WordenForm class, a custom Form (imagine a Form as a ‘window’ class), that would serve as base for all of the project’s interface, that could be automatically updated after some time without user interaction, and that stores some global keybindings .
In the docs, there were examples of this behavior using npyscreen.NPSAppManaged.while_waiting(), but for some undocumented reason, this would only work if the WordenApp variable keypress_timeout_default was set on_start() before registering the Forms.
The main takeaway here is that npyscreen was an imperfect choice, but after digging into the documentation, and once in a while into the actual source code of the library to figure out how the pieces fit together, the UI was working as planned.
Drawing the Map
When looking at the previously mentioned projects, ptop’s feature of in-terminal resource graphs using a really drew my attention, and thus I came upon a very neat library called drawille.
Drawille uses unicode braille characters to simulate pixels in the terminal, so that in a drawille Canvas each character becomes a 2x8 pixel map, indexed as shown below:
|1 4|
|2 5|
|3 6|
|7 8|
The only real drawback of Drawille, or more specifically it’s python implementation, is that the pixels were binary - either on or off - incapable of color or “greyscale”, but that was it! Using drawille, I could draw world map in the terminal and display positions in it!
Oh, the naïveté
The first, and very naive attempt to draw a map was to use a damned ASCII-art world map of all things, stored in a list of strings, one for each line of the map, to get a matrix-like indexing of each position. Then, in draw_map() , each index of the “matrix” was visited and, depending on the character there, pixels were printed in the canvas in certain patterns.
def draw_map(c):
    for line in enumerate(MAP):
        for column in enumerate(MAP[line[0]]):
            x = column[0] * 2
            y = line[0] * 4
            map_pos = MAP[line[0]][column[0]]
            if map_pos == " ":
                pass
            elif map_pos in ["|",")","("]:
                c.set(x,y)
                c.set(x,y+1)
                c.set(x,y+2)
(...)
Well… it worked, sort of… In retrospect this was an Absolutely disgusting method, but it managed to draw something like a world map. But then came the issue of accurately displaying the position of objects given their latitude-longitude coordinates, which was, as you might have guessed, impossible to do in that god awful map.
Now why I did not see this issue coming before beginning implementation, but it became evident that a more refined approach was necessary.
A Rectangular Pillow
The new approach was to use a picture of an equirectangular projection of Earth to print the map on the terminal. In the equirectangular projection, the meridians and circles of latitude are transformed respectively into evenly spaced vertical and horizontal lines, in such a way that the position of a pixel in the map is sufficiently accurate to the actual latitude-longitude position in the globe, while distorting the actual shape of Earth’s land mass (all 2D projections of earth distort it somehow).
The actual idea for the approach came from a python2 example script in drawille’s repo that prints a image file to the canvas, using Python Imaging Library (aka. PIL). I thoroughly studied the script, ported it to python3 using Pillow (a PIL Fork) for image manipulation (even made a PR to drawille to contribute to the project a bit!) and used it’s algorithm for Worden’s map.
The algorithm is as follows:
1. Load an image file
2. Convert the image to greyscale - 1 byte of color per pixel
3. Scale up or down it if needed, depending on the canvas dimensions
4. Loop over each pixel of the image. If the greyscale value of that image pixel is above a certain threshold, "turn on" the analogous pixel of the drawille canvas
Success!
Code organization / Reusability
After putting the basic components of UI and API management together, finishing the initial release of Worden was surprisingly quick. I credit the speed to the good degree of reusability and overall modularity of the code.
Here are some of key takeaways on the project organization and reusability, in no particular order:
- Using a separate, globally accessible
const.pyto store all constants is very handy - but if you go too far it can get bloated quickly - For each API data-type (planets, astronauts, launches, etc.) a SDK-lite class was created. They mainly act as a “data container”, constructing themselves from the JSON of the request and populating themselves with the most relevant fields.
- All API classes inherit a
TrackableObjectclass, it has the only purpose of providing a name of the object being tracked and an “abstract” method that returns a latitude,longitude tuple. - The main
WordenAppclass stores the trackable object and other data about it, so we can keep track of it regardless of in what Form we are currently using - A single API Manager class exists, imported in the main class
WordenApp, and fetched API data is stored in “Pages”, one for each API Type. Any class that interacts withWordenAppcan then access said Pages from the manager as such:self.parentApp.api_man.pages.get(self.api_type) - Only two Form classes exist, one for the map, and the other for a “List-and-detail” form. Both of them derive from a base Form that stores basic keybindings, variables and which (if any) API Type that given Form displays, allowing it to fetch data from the correct API Page
- Enums are your friends. The available API Types are stored as an enum inside
const.py. These are used to dynamically create a new “List-and-detail” Forms for each existing API Type.
Packaging (and a rant on python packaging)
This will be part rant, part tutorial
My first attempt at packaging Worden and publishing it to PyPi didn’t work. After creating an account, API key and setting up the github action for packaging and publishing, running pip3 install worden installed nothing because the package was empty. This was the main reason for revisiting the project.
Looking at the packaging tutorial we see that there are a few basic requirements for packaging, like a specific directory structure, a __init.py__ file and, most importantly, a setup.py script. This is a build script forsetuptools, the python module that does the heavy lifting of actually packaging the files. It is also here where most of your metadata (package name, your username, description, version, etc.) is placed.
The issue here is that the example given in the tutorial is too simple and does not cover several issues I had, which is a shame considering that one might reasonably assume that a tutorial from the Python Packaging Authority itself should be the authoritative source of information.
If you plan to create a larger python project that will be packaged, I suggest that you study these docs and the setuptools user guide, so that you better understand the structure and configuration requirements before frustrating yourself.
Directory structure
The first change I did to conform to the requirements of setuptools was to rearrange the project’s directory structure as follows:
Worden
(Some files and directories are ommited)
├── MANIFEST.in #Used to import data files
├── README.md
├── requirements.txt
├── setup.py
└── worden
    ├── const.py #A module containing constant values used in the application
    ├── data #Directory to store data files
    ├── __init__.py
    ├── __main__.py
    └── src #The actual source code
        ├── api #API submodule
        ├── app.py #"Main" class of the app
        └── ui #UI submodule
Finding the packages and Data
In the setup.py, the packages field is a list of the python packages (i.e. the source code) that will be added to the archive. The recommendation is to use a find_packages() function that will automatically search and add said packages, however for some reason, the function just couldn’t find anything. After changing function parameters with no success , the solution was simply to add the packages manually (leaving the function out of laziness)
packages=setuptools.find_packages() + ["worden.src","worden.src.api","worden.src.ui"],
This imported the code, but the image used by the map was not in the archive. The reason? Importing non-source code files (known as “data files”) used by the package needs another variable in the setup.py
include_package_data=True,
You must then list the data files to be included, either using other variables in setup.py (see the docs) or in a separate file called MANIFEST.in. Worden uses the latter, with the following content:
include worden/data/*
The data/ directory inside the module did not exist before, and while not strictly necessary, it appears to be best practice to place non-source code files there. And so it was done.
Dependencies
If you think there weren’t enough hoops to jump through, don’t worry, we have a couple more of them!
Your package requirements must be placed in yet another variable in the setup.py. setuptools does not care that you already listed them in a requirements.txt, as you usually do in python project.
install_requires=[
"Pillow>=5.4.1",
"drawille>=0.1.0",
"npyscreen>=4.10.5"],
_See, you can list what the data files your project needs in a separate file, but not your package requirements! makes sense doesn’t it ? _
No, no it doesn’t.
Testing the package
Created a pypi.org account? Ready to publish your project to the world? Well, you should first create another account in test.pypi.org first, so you can upload the package, download it from there and test if it all went well. This way you won’t pollute the project’s release history with loads of trash packages.
Bottomline
The main source of frustration came from a feeling that I was struggling against the machine, not using it to do what I needed, making the whole process last way longer than expected, overcoming one roadblock just to find another one immediately after.
While part of the blame is also mine for not thoroughly studying the tools before messing with them I just wished for a bit more comprehensive tutorial, that more documentation was centralized in pypa’s website, and an improvement of setuptools to automatically detect the modules, requirements, using smarter defaults.
Scrapped/On-hold plans
Below follow some plans that weren’t followed through in the initial release.
- A fuzzy finder in the lists of launches and celestial bodies
- Better caching / API interaction
- Tracking man-made satellites using TLEs
- An Orbital Map of Earth & System Wide map: these two in particular are the most ambitious, as a 2D representation of 3D orbits won’t communicate a lot of information, and due to the limitations of the terminal and libs for precision.
termtrack
There’s always a bigger fish. Riding high from the ego boost of completing Worden and being quite satisfied with the end result, I came across termtrack…
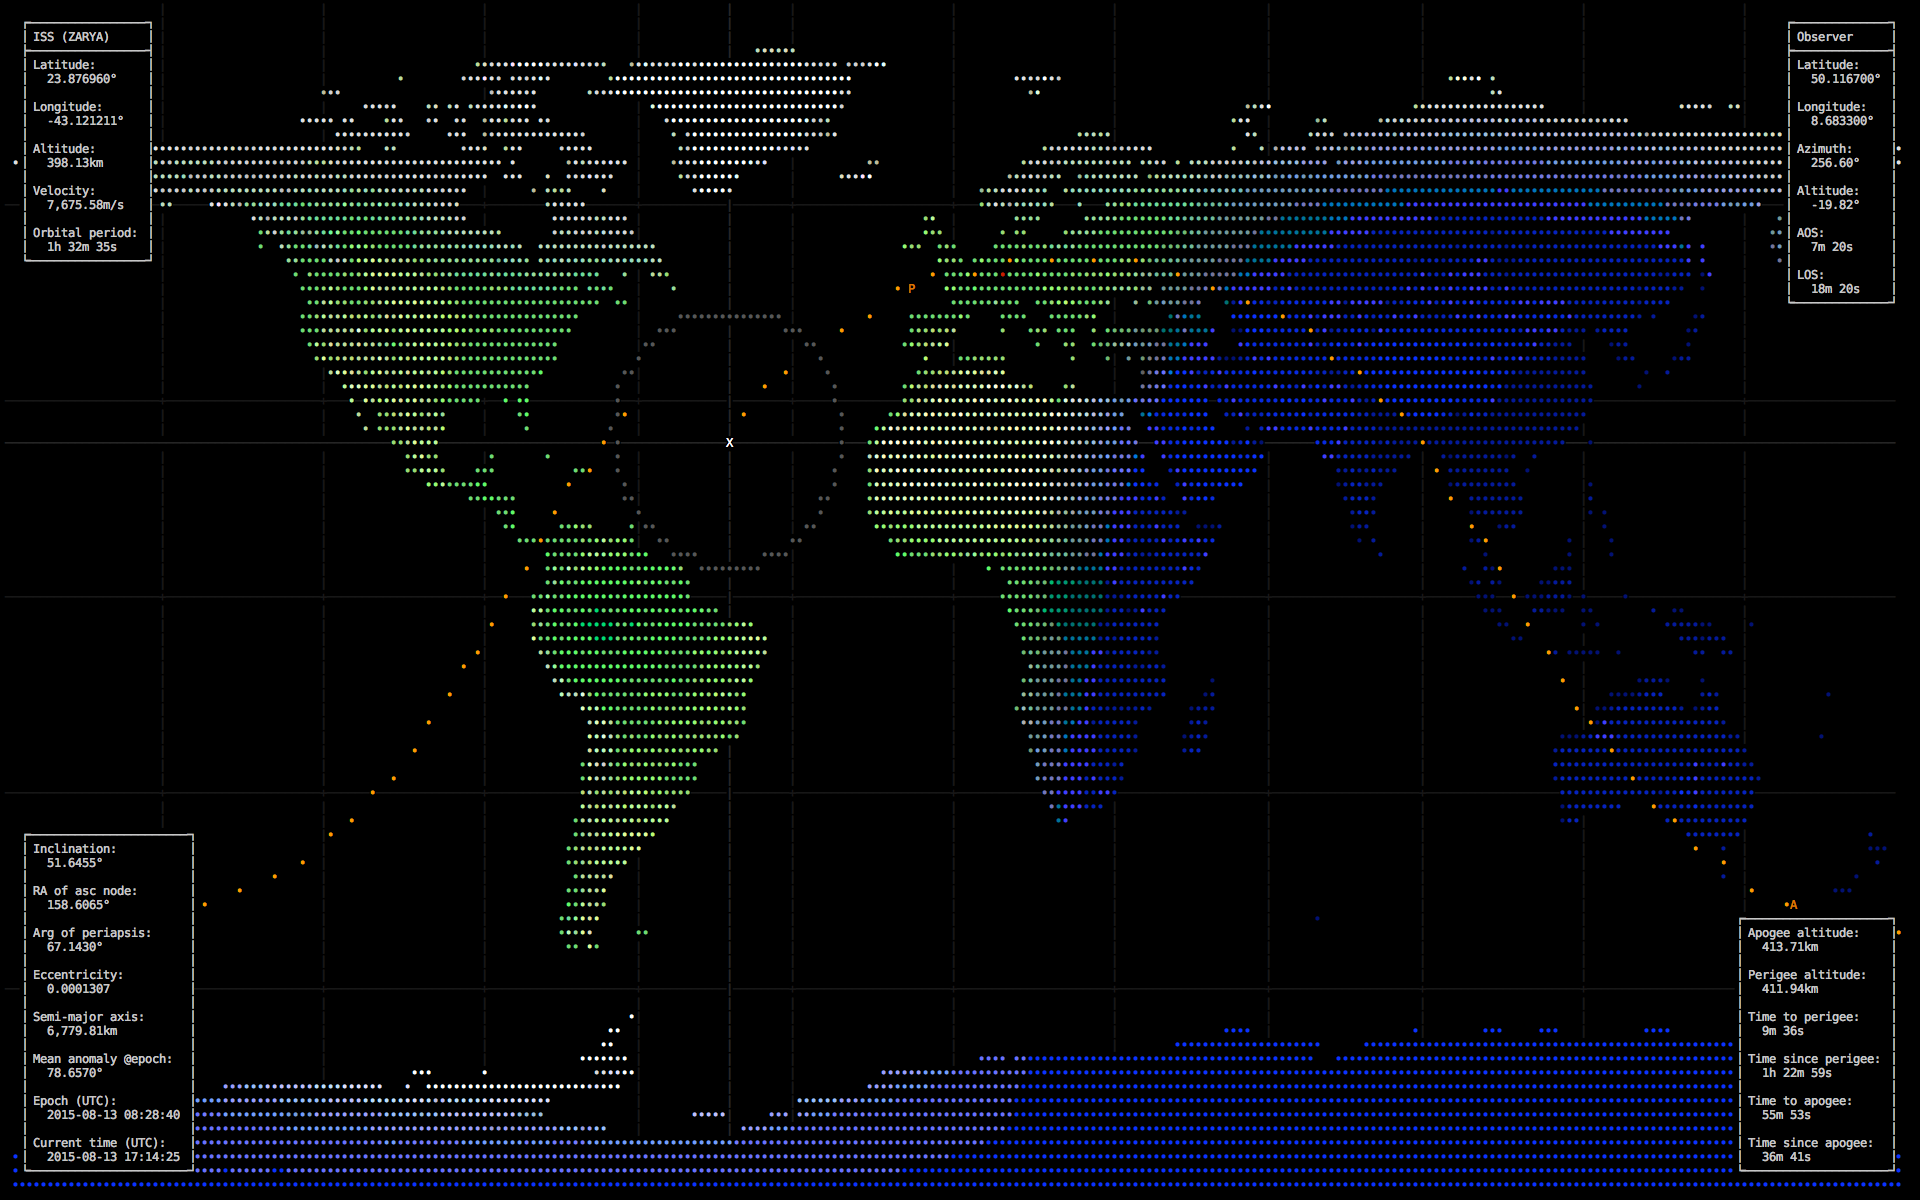
It just blows Worden’s map out of the water. While Worden has arguably more features, being able to search for launches, and getting information from them, celestial bodies and astronauts, termtrack’s is much more sophisticated overall.
Termtrack does not use any APIs to keep track of positions, it actually downloads the TLEs from celestrak and performs the necessary calculations to keep track of locations relative to the Earth. In addition to that it uses something called a shapefile (which I did not knew before it existed) to draw the map with greater accuracy.
Blow to my ego aside, I’ll definitely dissect termtrack in the future, learn a lot from it and (maybe) improve Worden using said knowledge.
Torsten, cheers to you.
Final thoughts
Unfortunately, and due to a lack of testing in the intended device, Worden didn’t behave as expected in the Raspberry Pi…
Nevertheless this was a very fun little project to work on. Final thoughts are:
- Space is fun
- Quality documentation is paramount for any library or public project
- Python packaging could be a little clearer
- Ego management is important
- We must strive to keep humble and learn from the success of others!
Thank you for reading!